Phantom 4
After months of testing the new Phantom 4 I’ve decided to write a short article on my first impressions of the drone.
The white box the Phantom came in also serves as a practical case for carrying the drone, which I’ve been doing from the start. So far this has left a very positive impression on me, everything is smartly and safely fitted in the case, and during transportation nothing moves. The case even has room for a tablet and a lighting cable (for connecting smart devices with the remote). These are, of course, not part of the original package. Included in the case, however, are:

The entire set gives the impression of being very functional, everything has its own specific use. While I was initially surprised by the small size of the drone, after attaching the propellors I found that it took on a more serious dimension. I was really pleased with the case’s space for the propellors, it’s really great. To pull out the remote control I had to use a bit more muscle, since it’s pretty well encapsulated within the case (which can be seen only as a benefit). In the beginning the drone was entirely set in a plastic covering I planned to open without using any force or tearing. I later discovered this was impossible. I read the manual and removed the stickers on either side of the drone’s shoulders. The sticker’s point is to warn the user that the motors can spin really fast and possibly injure someone, so it’s important to keep safety measures in mind when working. I also wrote down the basic rules necessary to keep in mind before and after a flight (thanks are in order for the clear tutorials given by a really nice guy you’ll find on the DJI’s pages and also in the DJI academy. You can find them below (in English)). .
My workflow
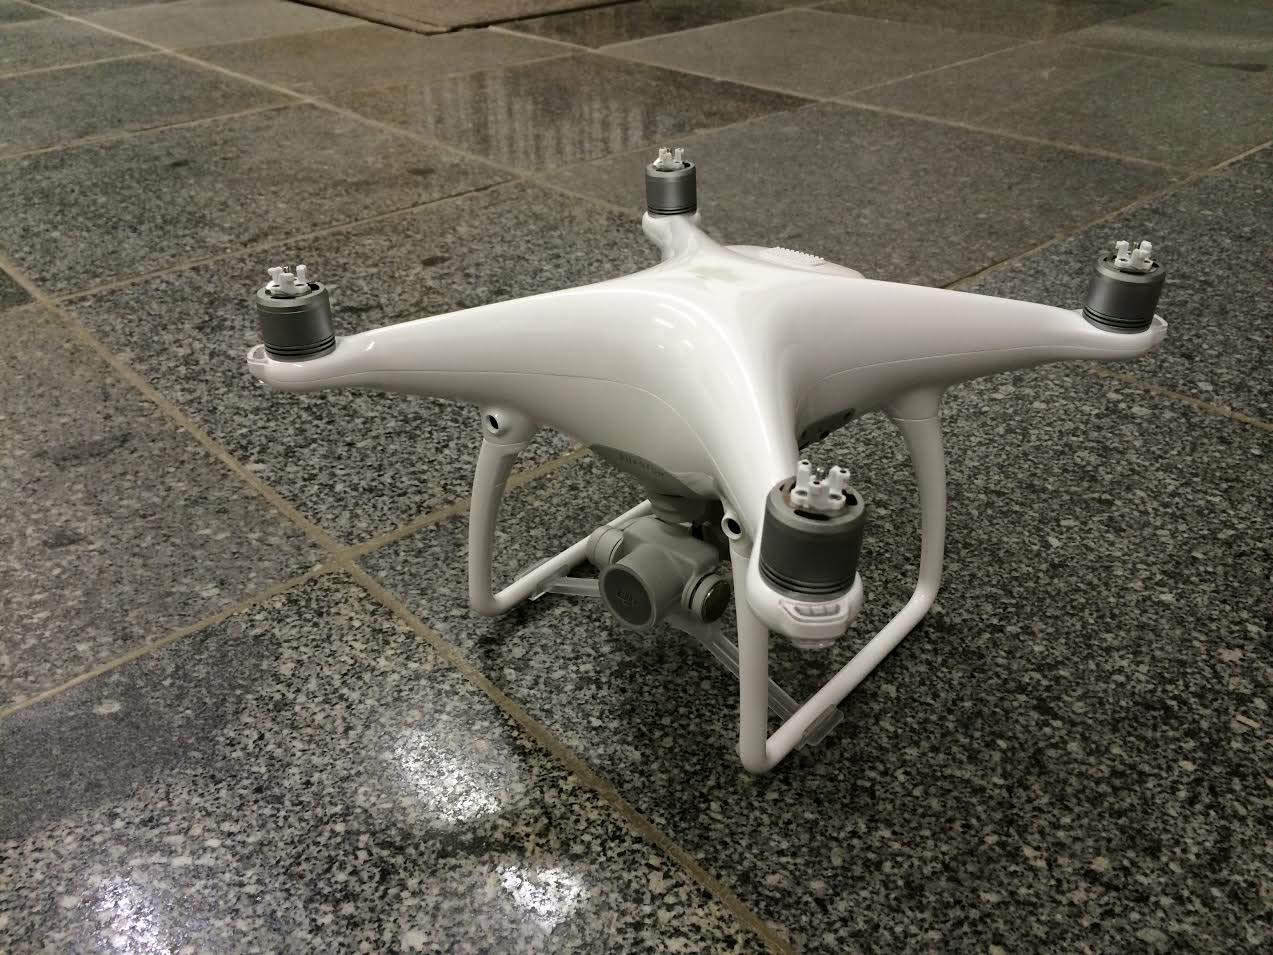
I put the propellors on the drone and removed the camera’s safety cover. I put my smart devices on the remote control with which the drone is controlled and connected them using the lighting cable. The remote control is dominated by two large round buttons located below the biggest control lever. The right one signals RTH (a return-to-home function that automatically generates a return to the starting point) while the one on the left turns the remote control on and off. With one short press followed by holding the switch the drone is turned on, activating the LEDs on the bottom part and a rather distinctive sound. It's also necessary to load the GO APP application, without it you can't fly. On the battery (which takes up almost the drone’s entire inside middle part) there’s an off/on button and LED indicators as well. The process of turning on is also the same (one short press followed by holding the switch). The drone then beeps loudly and the LEDs above every motor (4x) light up. The camera (Gimbal) also turns on, coming out of hibernation mode with a few weird movements before fixing securely on the space.
Application
In the GO APP you have to click the big blue button “Camera” to get to the main menu. My opinion is that this is an extremely well-prepared application covering a wide range of crucial indicators, gauges, and set-up functions. Using this application it’s possible to do almost anything. To get off the ground you just lightly slide your finger. To determine where the drone flies or initiate an emergency landing all you need to do is tap your finger on the screen. After the initial warming up phase and finding a sufficient number of GPS satellites the application shines green, signalling SAFE TO FLY. During the first flight the application requests you to calibrate your compass. Of course it'll show you how to do this (a ritual dance of sorts). Although this application is extremely intelligent, it's important that you’re fully aware of how to control the drone's levers. During the first flight I got off the ground using the remote control, not the smart function. It was, in principle, very simple (left lever up).
Flying and shooting
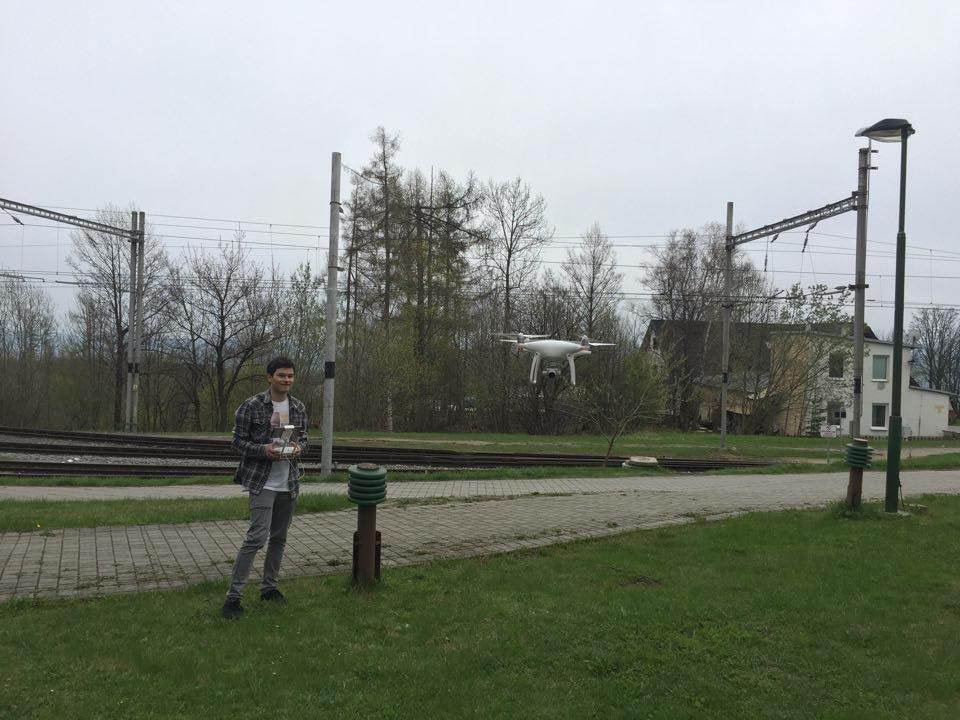
If you’re a beginner, DJI recommends having your first flights in big, open spaces, a recommendation I fully agree with. The first time I flew I took off on a grassy lawn that seemed big enough. The only thing is that I didn’t realise that a few meters further there was a treetop. Still, this didn’t make a difference because I only went about 1-2 meters off the ground (I was afraid to go any higher). Next I tried landing, which is again relatively easy (left lever down). Gestures and movements close to the ground should be done on a very small scale, never sharply. To stop the engine as soon as the drone hits the ground, hold the left stick all the way down for 5 seconds. After the initial shock and feeling of the first flight wore off, I couldn't resist taking off again (away from the tree). During my second flight I found the courage to soar above a nearby guesthouse. I watched all of it through the LIVE VIEW on my first generation iPad mini. I was a little disappointed when I found that the signal refreshes when the interval is too large and I ended up seeing green stripes frequently. My worn-down old iPad just can't handle flying. Since then I've used my iPhone 5s. Despite the fact that you can't send snapshots or call anyone (flight mode is on), everything works down to a tee. I shot a couple of takes and tried out a few buttons, trying to find out what each means. In general, I got acquainted with the flight. After landing I took the micro SD card out of the drone and looked at the shots. I was really surprised how stable they were, even though it was a little windy and the drone didn't look at the top of its game, leaning forward to stay in one place. In the end, it was the excellent collaboration between the Gimbal camera and and the drone body that resulted in such stable shots.
Some final words
Many have described the new Phantom 4 as a “crash proof drone.” The drone’s intelligent sensors located at the front and bottom are as if from another planet. Thanks to them the drone knowns when to stop so it doesn’t crash, have a stable flight in places without a GPS signal, and land or return home when the battery falls below a certain level, some other emergency or after pressing the return-to-home button (in the case of obstacles on the way back home, the drone is able to expertly avoid them). DJI Phantom 4 is a truly easy to operate device providing virtually unlimited possibilities for serious filming or just for fun. Since these were my first impressions, it’s likely that I’ll be writing up the Phantom’s many interesting functions in the next article.